
You don’t need to write code. You don’t need a computer science degree. You don’t even need to be “good with computers.” Here’s how real people are building stores and making sales — starting from scratch.
Let me tell you about Sarah.
Two years ago, she was a stay-at-home mom who made custom birthday banners for friends. People kept telling her she should sell them online. She’d smile and say, “I wouldn’t even know where to start.”
She wasn’t being modest. She genuinely didn’t know. The thought of building a website felt like trying to assemble furniture without instructions — in the dark.
Fast forward to today. Sarah has a small online store doing around $3,200 a month in revenue. She built it herself. No web developer. No coding courses. No technical background whatsoever.
Her story isn’t rare. It’s becoming the norm.
The tools available in 2025 have completely changed what’s possible for everyday people. If you can send an email and upload a photo to social media, you have enough technical skill to run an online store.
This guide walks you through the entire process — step by step, jargon-free.
Why You Don’t Need Technical Skills Anymore
A decade ago, launching an online store meant hiring a developer, paying for custom design, and dealing with server management. The whole thing could easily cost 5,000to15,000 before you made a single sale.
That world is gone.
Modern ecommerce platforms handle all the technical heavy lifting behind the scenes. They manage your hosting, security, payment processing, and even help you design your storefront — all through simple drag-and-drop interfaces.
Think of it like this: you don’t need to understand how an engine works to drive a car. You just need to know where the steering wheel and pedals are. Building an online store works the same way now.
The platforms do the engineering. You focus on your products and your customers.
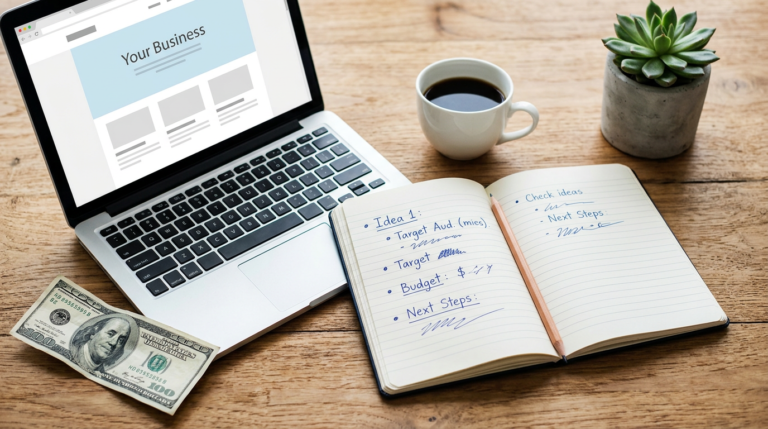
Step 1: Decide What You’re Selling
Before touching any platform, get clear on your product.
You probably already have an idea. Maybe it’s been sitting in the back of your mind for months — or years. Now is the time to pull it out and examine it honestly.
Physical Products
Things you make, source, or design. Handmade candles, vintage clothing, custom t-shirts, art prints, jewelry, skincare products.
Digital Products
Items delivered electronically. Ebooks, templates, printables, online courses, presets, design assets.
Print-on-Demand
You design the product; a third-party prints and ships it. No inventory, no upfront stock costs. Great for artists and designers.
Dropshipping
You list products from a supplier; they handle storage and shipping. You never touch the inventory.
Which is right for you?
If you’re working with a tight budget and want the lowest risk, digital products or print-on-demand are excellent starting points. If you already have handmade goods ready to go, physical products give you more control over quality and branding.
Don’t overthink this part. You can always expand your product line later. The goal right now is to pick something and move forward.
Step 2: Choose the Right Platform
This is the decision that trips most people up. There are dozens of options, and every blog post seems to recommend something different.
Here’s what matters: you need a platform that’s built for beginners, handles payments securely, and won’t require you to learn technical skills down the road.
The Top Platforms for Non-Technical Store Owners
Shopify
The most popular ecommerce platform for a reason. Extremely beginner-friendly, with hundreds of templates and a massive app ecosystem. Plans start around $39/month. If you want the smoothest possible experience, this is where most people land.
WooCommerce (WordPress)
Free to install, but requires a WordPress site and separate hosting. More flexible long-term, but has a steeper learning curve. Better suited if you already have a WordPress blog.
Big Cartel
Built specifically for artists and makers. Free plan available for up to 5 products. Simple, clean, and focused. Great if you’re starting small.
Etsy
Technically a marketplace rather than your own store, but worth mentioning. You can sell alongside millions of buyers already browsing. The tradeoff is less control over branding and higher transaction fees.
Squarespace Commerce
Beautiful templates. Good for brands that prioritize visual storytelling. Ecommerce features are solid but less robust than Shopify for larger catalogs.
My Recommendation for Absolute Beginners
If you’ve never built anything online before and you want the path of least resistance, [Shopify is the platform I’d start with]. It’s what I recommend to friends and family when they ask. The setup is guided, the interface is clean, and there’s a 3-day free trial so you can explore before committing.
You don’t have to decide right now. Most platforms offer free trials — use them. Spend an hour clicking around before you commit to anything.
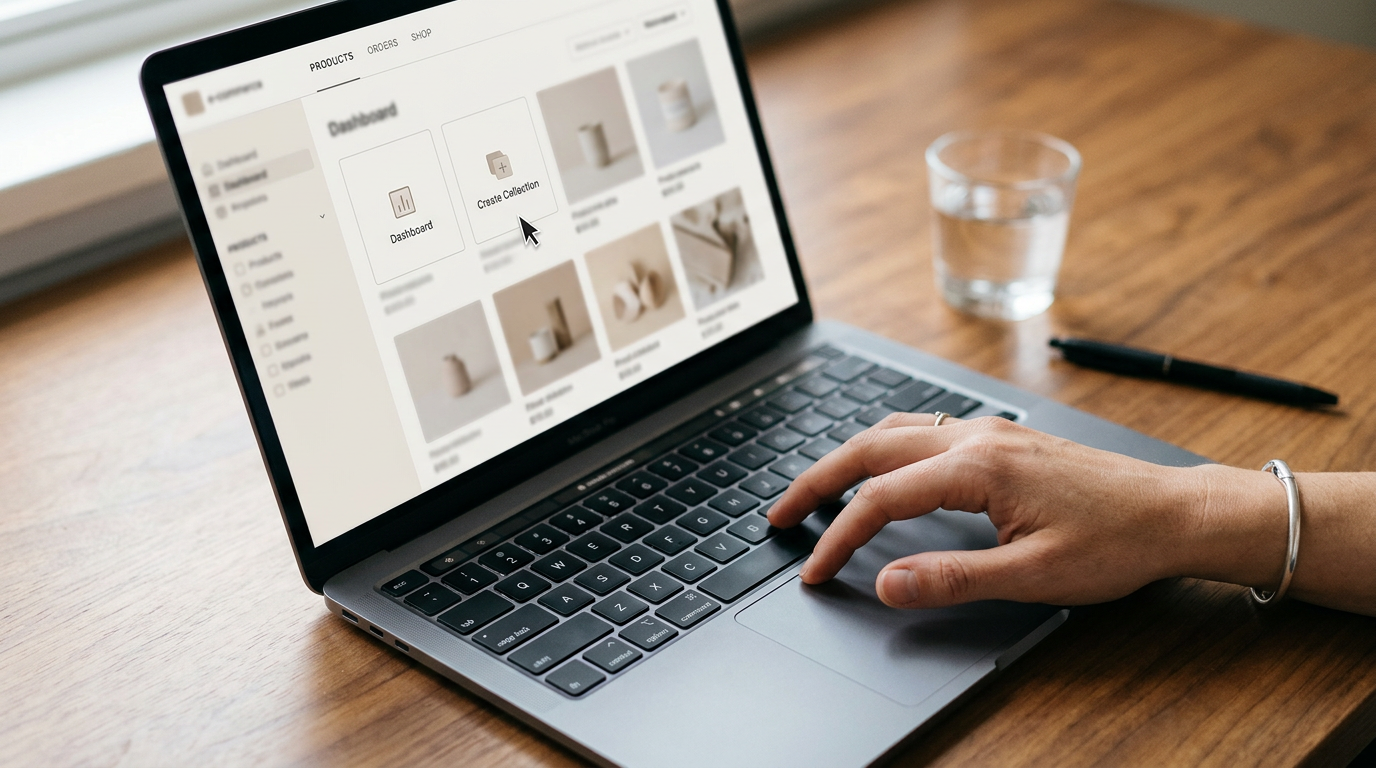
Step 3: Set Up Your Store (In One Afternoon)
Seriously — this can be done in a few hours. Here’s the exact sequence.
Pick a Store Name
Keep it simple, memorable, and easy to spell. Avoid hyphens, numbers, and overly clever names that nobody can pronounce. If you’re stuck, try combining two relevant words or use your own name.
Check domain availability as you brainstorm. You want your store name and your website address to match.
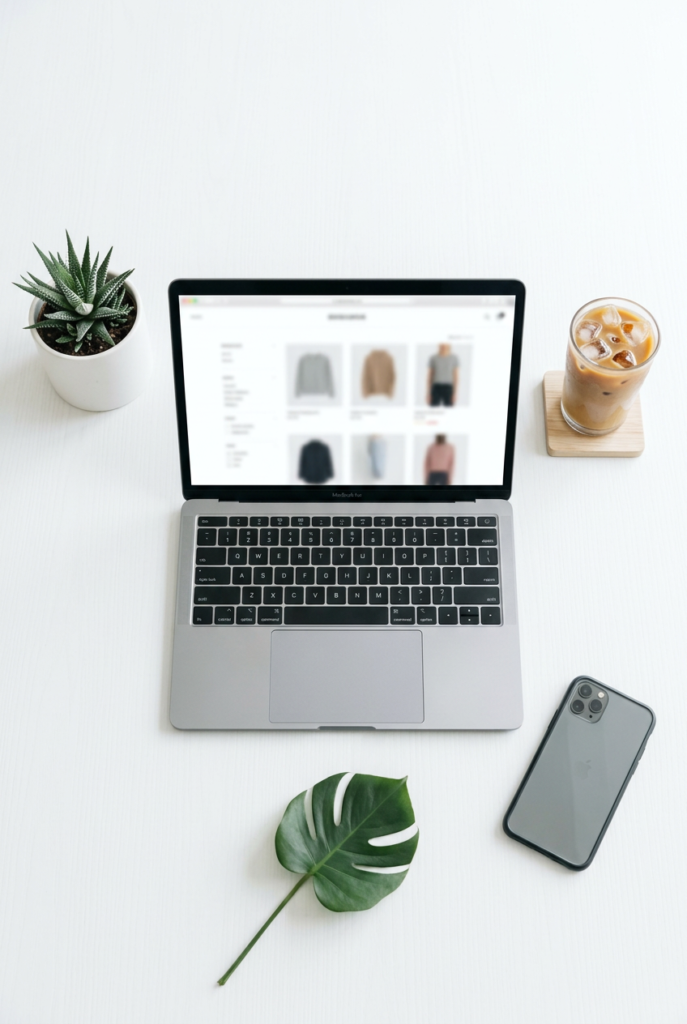
Choose a Template or Theme
Every major platform offers pre-designed templates. Browse the free options first. Look for something clean, mobile-friendly, and aligned with your product’s vibe.
Don’t spend hours agonizing over this. You can change your template later without losing your products or content.
Add Your Products
This is where the magic starts to feel real.
For each product, you’ll need:
- Product photos — Natural lighting, clean background, multiple angles. You don’t need a professional camera. A modern smartphone in good light works perfectly.
- Product title — Clear and descriptive. “Hand-Poured Soy Candle — Lavender & Cedar” beats “Candle #3.”
- Description — Write like you’re explaining the product to a friend. Include materials, dimensions, what makes it special, and who it’s perfect for.
- Price — Research what similar products sell for. Price for profit, not just to be the cheapest option.
Set Up Your Pages
At minimum, you need:
- Home page — A simple welcome, featured products, and a clear path to shop
- About page — Your story, your why, and what makes your store different
- Contact page — An email address or simple form
- Shipping & Returns policy — Be transparent about timelines and refund terms
Most platforms have templates for these pages. Fill them in honestly and move on.
Step 4: Set Up Payments
This is the part that used to require a developer. Now it takes about 15 minutes.
Modern platforms integrate directly with payment processors like Stripe, PayPal, and Shop Pay. During setup, you’ll be prompted to connect a payment method. Follow the steps, verify your identity, and link your bank account.
Once that’s done, customers can pay with credit cards, debit cards, Apple Pay, Google Pay, and other digital wallets — all without you touching any code.
Important: Make sure your checkout page looks trustworthy. Use your store’s logo, display security badges, and keep the checkout flow simple. The fewer steps between “add to cart” and “purchase,” the better your conversion rate will be.
Step 5: Handle Shipping (For Physical Products)
If you’re selling physical goods, shipping setup is essential.
Key Decisions
Flat rate vs. calculated shipping
Flat rate is simpler — you charge the same amount regardless of location. Calculated shipping uses real-time rates from carriers like USPS, UPS, or FedEx. For beginners, flat rate is easier to manage.
Free shipping
Many stores bake shipping costs into the product price and offer “free shipping.” Customers love this. Psychologically, free shipping removes a major barrier to purchase.
Packaging
You don’t need custom boxes to start. Clean, protective packaging with a handwritten thank-you note goes a long way. Add your branding as you grow.
Print Labels From Home
Platforms like Shopify integrate with shipping services so you can print labels directly from your dashboard. No trips to the post office required.
Step 6: Get Your First Visitors
Your store is live. Now you need people to see it.
This is where most new store owners feel stuck. But you don’t need a big budget — you need a focused strategy.
Start With Your Existing Network
Tell your friends, family, and social media followers. Post about your launch. Share the story behind your products. People buy from people they feel connected to.
Leverage Social Media
Pick one or two platforms where your target customers already spend time. Don’t try to be everywhere at once.
- Instagram — Visual products, lifestyle brands, handmade goods
- TikTok — Behind-the-scenes content, product demos, storytelling
- Pinterest — Home decor, fashion, crafts, recipes, digital products
- Facebook — Local community, older demographics, marketplace listings
Post consistently. Show your products in use. Share your process. Be a real human, not a billboard.
Start an Email List Early
Add a simple signup form to your store. Offer a small incentive — 10% off, a free guide, early access to new products. Email is the most reliable way to reach your audience because you own the list. No algorithm changes can take it away.
Content and SEO
Write blog posts or create content around topics your customers care about. If you sell skincare, write about routines and ingredients. If you sell art prints, share styling tips. This brings organic traffic from search engines over time.
It won’t happen overnight. But every piece of content is a long-term asset.
Step 7: Your First 90 Days — What to Expect
Let me set realistic expectations, because too many “how to start a store” articles skip this part.
Week 1–2: You’ll feel excited. You’ll probably tweak your design a dozen times. That’s normal. Try to launch imperfectly rather than perfect slowly.
Week 3–4: You’ll start sharing and promoting. Sales might trickle in from friends and family. Maybe one or two from strangers. That’s a win.
Month 2: You’ll start learning what resonates. Which products get attention? Which social posts drive traffic? Double down on what’s working.
Month 3: By now, if you’ve been consistent, you’ll have a small but real customer base. Reviews start coming in. Word of mouth begins. The machine starts to turn.
The store owners who succeed aren’t the ones who launch perfectly. They’re the ones who launch, learn, adjust, and keep going.
Common Mistakes to Avoid
Waiting for perfection
Your store will never feel “ready.” Launch it anyway. You’ll improve it as you go.
Trying to sell everything
Start with a focused product line. A store with 5 great products outperforms a store with 50 mediocre ones.
Ignoring mobile users
More than 70% of online shopping happens on phones. Make sure your store looks and works great on mobile.
Underpricing your products
Know your costs. Factor in materials, time, platform fees, shipping, and taxes. Price for a sustainable business, not just to make a quick sale.
Giving up too soon
Most stores don’t see meaningful revenue until month three or four. The ones that make it are run by people who didn’t quit at week six.